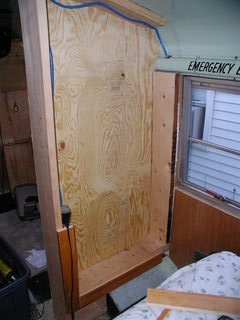
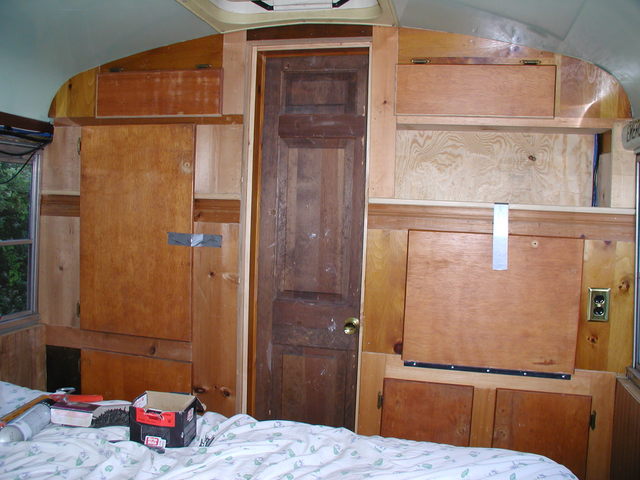
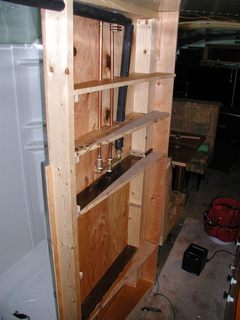
 The partition at the front of the bedroom will contain a desk, a bookshelf and several cupboards. The partition at the front of the bedroom will contain a desk, a bookshelf and several cupboards. |
|
|
 I started from bottom to top, I didn't really have a plan other than awareness, I want lockers downstairs, desks, bookshelves and everything, what could fit on this. I had a set of doors, which determined the size of each hole. I started from bottom to top, I didn't really have a plan other than awareness, I want lockers downstairs, desks, bookshelves and everything, what could fit on this. I had a set of doors, which determined the size of each hole. |
|
|
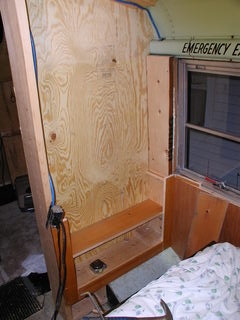
 Back of the desk. Back of the desk. |
|
|
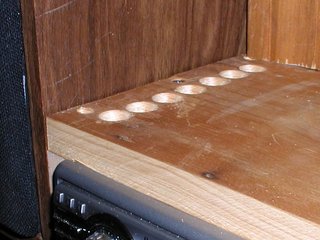
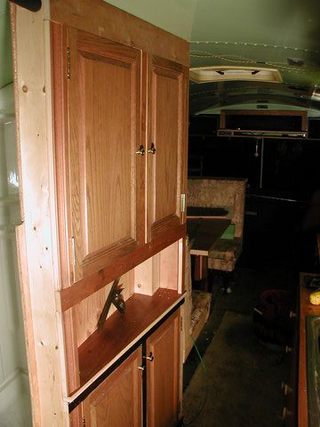
 Desk. Because I'm working with reused material, I don't have the luxury of having many long pieces of wood, so I split the front bezels like this, so that they can be built from short pieces. Desk. Because I'm working with reused material, I don't have the luxury of having many long pieces of wood, so I split the front bezels like this, so that they can be built from short pieces.
One of the biggest advantages of working with reused and recycled materials is this, that the restrictions placed on you by these materials often lead to details, such as the horizontal formation shown here. |
|
|
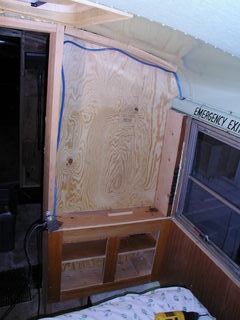
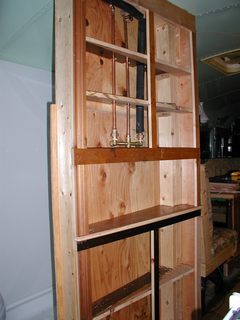
 I saved the piano hinge to the desk from one of the doors with the words "School Bus", which covered the upper "windows" at the front and rear of the bus. I saved the piano hinge to the desk from one of the doors with the words "School Bus", which covered the upper "windows" at the front and rear of the bus. |
|
|
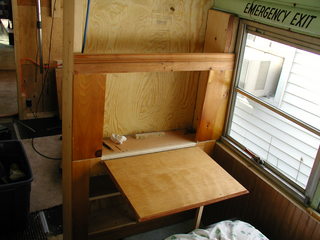
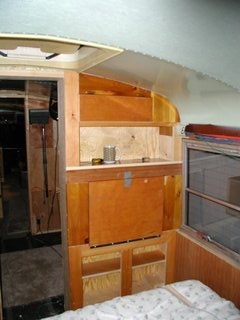 Here is the finished desk page, there are still two doors to be installed on the cabinet below. Here is the finished desk page, there are still two doors to be installed on the cabinet below. |
|
|
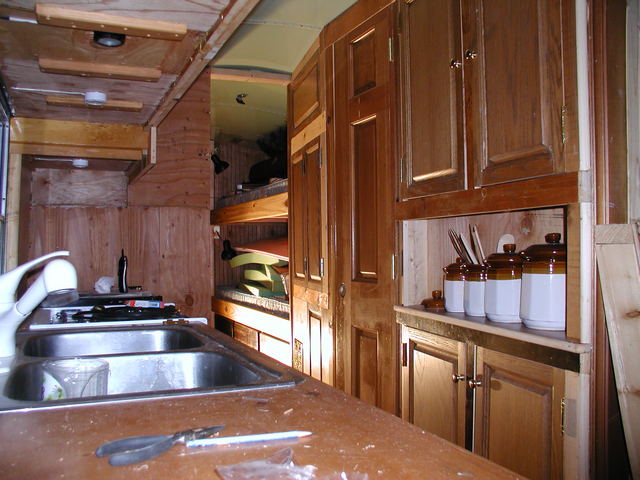
 All the carpentry on the bus will be finally painted, except for vertical slatted panels on the sides. Although I like the look of lacquered wood, the paint will unify the different colors and finishes of the recycled elements. All the carpentry on the bus will be finally painted, except for vertical slatted panels on the sides. Although I like the look of lacquered wood, the paint will unify the different colors and finishes of the recycled elements. |
|
|
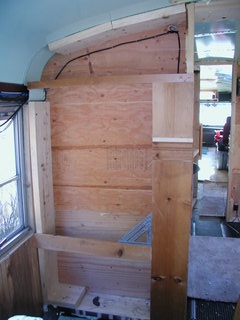
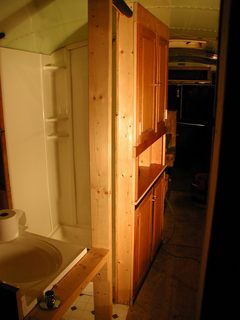
 The cupboard in the bedroom is mostly complete. I'm not sure yet, what will go under the wardrobe, maybe a drawer. The cupboard in the bedroom is mostly complete. I'm not sure yet, what will go under the wardrobe, maybe a drawer.
You can see, that I moved the slat to the side of the wardrobe, I think, that it will look nice painted in a neutral color. |
|
|
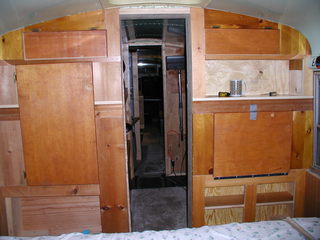
 Here is the finished wall. Here is the finished wall. |
Bunk room:
|
|
|
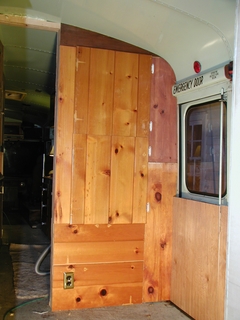 This is a broom closet in the bulkhead at the front end of the bunk room. It only has 3 and a half inch deep, but there are many tall ones, narrow things (such as brooms and vacuum cleaner hoses), which will end up here. This is a broom closet in the bulkhead at the front end of the bunk room. It only has 3 and a half inch deep, but there are many tall ones, narrow things (such as brooms and vacuum cleaner hoses), which will end up here.
There will be two seats for minivans in front of the wall, so the door is broken, the lower half opens only then, when the seatbacks are folded flat. |
|
|
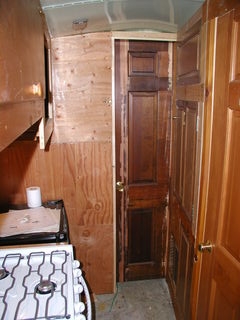 I cut and re-glued another 30 inch, six-panel door, to get a 3-panel wide door 18 1/2 cala. I cut and re-glued another 30 inch, six-panel door, to get a 3-panel wide door 18 1/2 cala.
Inexpensive dowel pinning tool, which I bought, he did a terrible job, arranging the slices in one line, so I had to flatten the door a little. |
|
|
In front of:
|
|
|
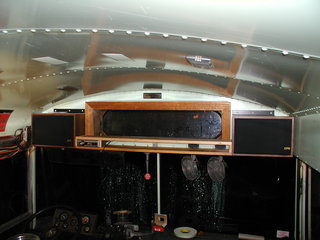 I built a shelf for a radio and cut out the windshield. I originally planned to use a home stereo with the inverter turned off. However, I found out, that the home stereo was not doing well, while the vehicle was in motion and some problems occurred after a while, which, as i suspect, were caused by a modified sine wave at the output of the inverter. I built a shelf for a radio and cut out the windshield. I originally planned to use a home stereo with the inverter turned off. However, I found out, that the home stereo was not doing well, while the vehicle was in motion and some problems occurred after a while, which, as i suspect, were caused by a modified sine wave at the output of the inverter. |
|
|
 The radio had a heat sink on one side and I wanted to be sure, that the cooling is sufficient, so I drilled some holes in the top and bottom shelves. The radio had a heat sink on one side and I wanted to be sure, that the cooling is sufficient, so I drilled some holes in the top and bottom shelves. |
|
|
Pantry:
|
|
|
 The space next to the shower seemed to be the obvious place for a pantry. Because the dining room seat was sticking out a little in the aisle, I decided, that the pantry will have the shape of a trapezoid, to facilitate the passage and to accommodate some more stuff. The space next to the shower seemed to be the obvious place for a pantry. Because the dining room seat was sticking out a little in the aisle, I decided, that the pantry will have the shape of a trapezoid, to facilitate the passage and to accommodate some more stuff.
The first step was to make shelves.
I am now running a little low on wide boards, so I built shelves from narrow scraps. This also made the construction a bit easier, because I was creating one rectangle and one triangle per shelf. |
|
|
 Then I built the front frames for the door. Then I built the front frames for the door. |
|
|
 Here is a ready-made cabinet with closed doors. Here is a ready-made cabinet with closed doors. |
|
|
 Another view Another view |
|
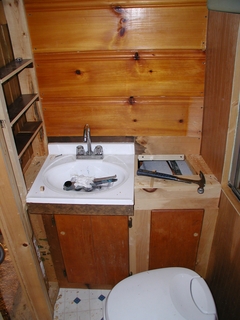
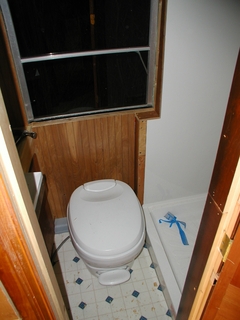 The toilet is in place, it's tight, but with a shower cubicle right next door there is enough space.
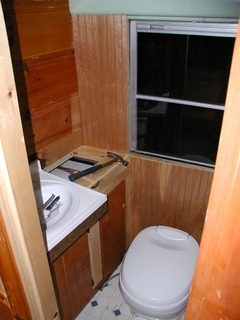 Here is a view of the bathroom from a slightly different angle, can be seen, that the front edge of the sink is also extended on the bracket, to make room under it.
 Here is a picture taken while standing in the shower. The shelves on the left are actually part of the hall cupboard, there will be more bead panels on the left side of the sink, and above it a medicine cabinet.


- American")


 - Australian")

 - Austrian")
 - Italian")