These windows will be covered with internal walls, so I cleaned them with alcohol and painted them black. After the paint was dry, I sealed it with GE Silicone II.
I used self-drilling screws 1 5/8 “, to attach the drill strips. I drilled wood and used low speed, to drill a screw into metal, Bus steel tends to be a little harder than average mild steel.
Here's the first frame that shows it, what will be a "bunk room".
To attach the top of the frame, I took out every other screw in the joint between the two ceiling panels and drilled a piece of wood, to accept (4) screws # 10 x 2 “. I drilled 1/4″ in depth and 1/2” "A pocket with a diameter between the through-holes, so that the wood lies flat over the other screw heads. I used a screw on the top of the roof # 10 x 3”, to fill the gap between the lintel and the ceiling.
I used 1 inch insulation foam to cover the darkened windows. I trimmed the foam around the door hinge and used GE Silicone II to stick the foam pieces in place. I think, that in the future I will use construction adhesive for this, because it is cheaper.
It quickly became clear, that I need to organize my workplace a little better, so i built a work table out of some kitchen cabinets, which I was collecting.
I thought, I'll be nice to my neighbors and cover the big yellow bus. This is the 37 inch Camper Guard from Northern Tool. Seat frames are going to landfill this weekend, but I'll leave a few for random pieces of steel and they will form the backbone of the dining room.
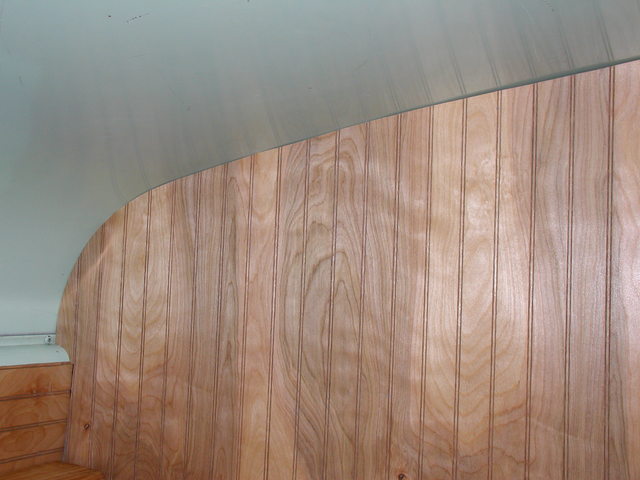
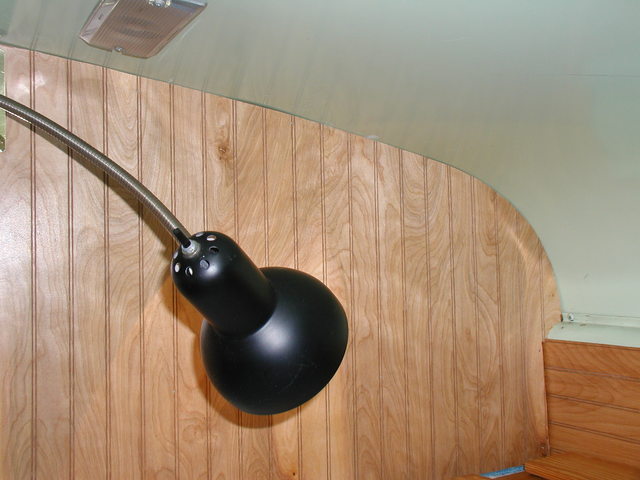
Here are some shots of the paneling entering the room with the bed, the surface of the door is approximately one inch deeper than the wall, so i used two layers of foam on it.
Binding and foam panels.
Create a template:
When paneling partition walls, you have to match the material with the curvature of the bus. You can draw the paneling each time, when you match an item, but it's better to make a template, to make squeaky pieces just once.
Here's how to make a template, you will need a poster board with a foam core, good stick, pencil and x-acto knife. My template is approximately 2'x3′ and it's just the curved part of the bus.
Draw horizontal lines across the piece of poster board at intervals 1/2 cala.
Mount the poster board on some frame on the bus, partially built wall, like the ones above, works well. The top left corner of the board should be a few feet from the wall.
Now starting from the bottom left, measure the distance to the board – remember this number.
Go up one line and mark the board at the same distance.
Go to the next line and do it again.
For that, where you have really curved bits, you can double the number of horizontal lines, to follow the contour more accurately.
Sketch the points together and cut out the template, see, as fit.
Select, where it does not match and use these characters, to copy the corrected shape to another piece of the whiteboard, repeat, until the fit is perfect.
Here is a sketch, which can give you a better idea about it, what am I talking about:
Here is what the mounted panels look like, can be seen, that there are some small gaps, but they are caused more by the waves in the steel of the ceiling than by the contours of my panels.
 These windows will be covered with internal walls, so I cleaned them with alcohol and painted them black. After the paint was dry, I sealed it with GE Silicone II.
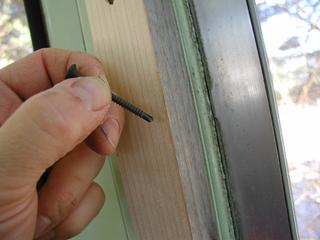 I used self-drilling screws 1 5/8 “, to attach the drill strips. I drilled wood and used low speed, to drill a screw into metal, Bus steel tends to be a little harder than average mild steel.
 Here's the first frame that shows it, what will be a "bunk room".
 To attach the top of the frame, I took out every other screw in the joint between the two ceiling panels and drilled a piece of wood, to accept (4) screws # 10 x 2 “. I drilled 1/4″ in depth and 1/2” "A pocket with a diameter between the through-holes, so that the wood lies flat over the other screw heads. I used a screw on the top of the roof # 10 x 3”, to fill the gap between the lintel and the ceiling.
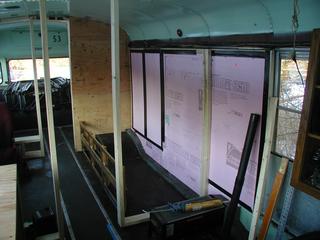 I used 1 inch insulation foam to cover the darkened windows. I trimmed the foam around the door hinge and used GE Silicone II to stick the foam pieces in place. I think, that in the future I will use construction adhesive for this, because it is cheaper.
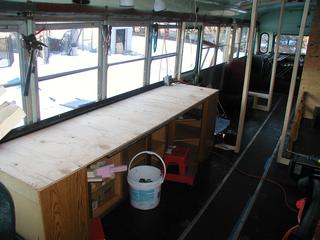 It quickly became clear, that I need to organize my workplace a little better, so i built a work table out of some kitchen cabinets, which I was collecting.
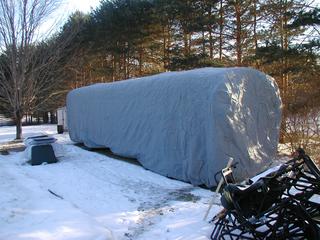 I thought, I'll be nice to my neighbors and cover the big yellow bus. This is the 37 inch Camper Guard from Northern Tool. Seat frames are going to landfill this weekend, but I'll leave a few for random pieces of steel and they will form the backbone of the dining room.
 Here are some shots of the paneling entering the room with the bed, the surface of the door is approximately one inch deeper than the wall, so i used two layers of foam on it.
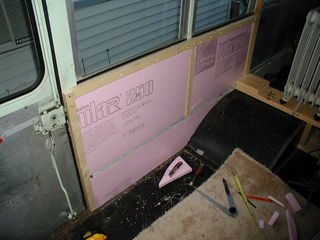 Binding and foam panels.
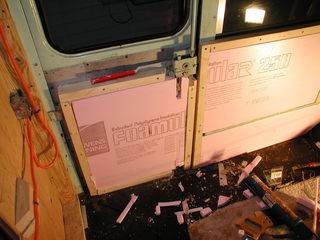


- American")


 - Australian")

 - Austrian")
 - Italian")